
How to remove people from photos
Real before-and-after examples, made with People Remover.
Upload your photo, paint over the unwanted person, and let AI fill the selected area. This guide shows what to mark, what to leave alone, and how to check the result.
Try it on your photo ↗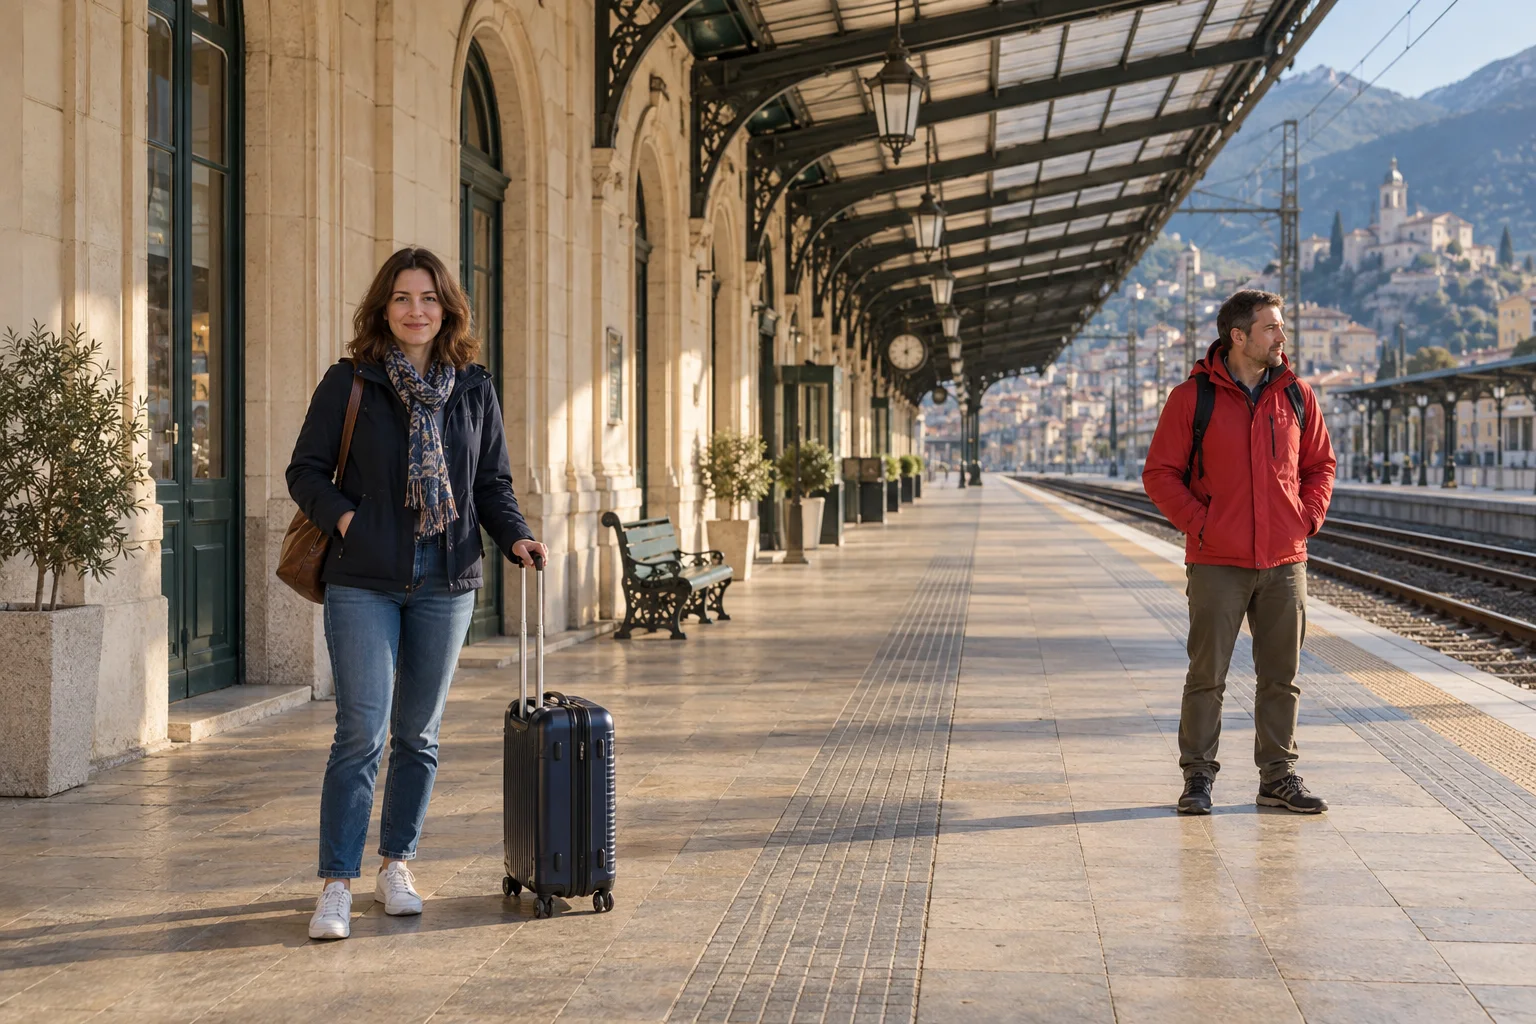 Green = area to remove
Choose a photo with plenty of background
Choose a clear original with visible scenery around the person. Sand, grass and open pavement give the editor nearby texture to work with. Avoid cropping tightly around the distraction before editing.
Upload a JPG, PNG or WebP under 20 MB. If you have several versions of the same shot, start with the one where people overlap the least.
The hiker stands on a gravel path above a lake. Nearby stones, grass and trees give the fill useful visual context.
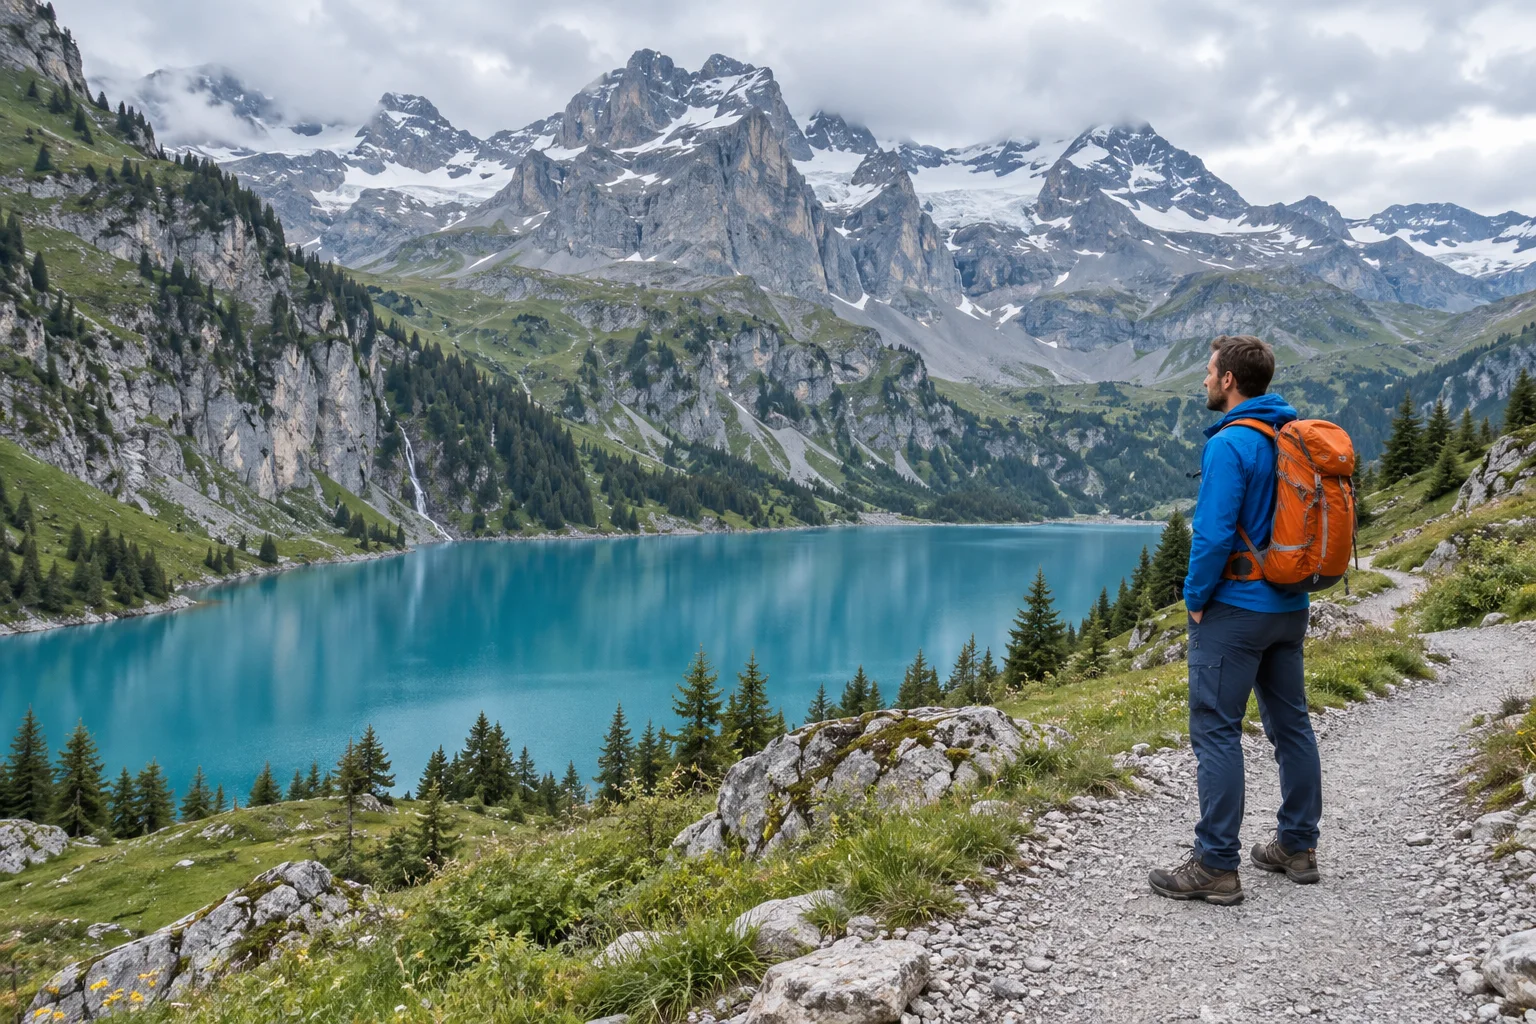
Paint over the person you want removed
The colored overlay is a mask: it tells the editor which area to replace. It only marks the selection and won’t appear in your download.
Work close to the outline
Use Mark to cover the entire silhouette with a small margin. Avoid selecting a large rectangle of scenery around a small person.
Use a smaller brush near the subject
Zoom in around hair, hands and overlapping edges. Leave the person you want to keep outside the green area.
Unmark an accidental stroke
Choose Unmark to clear part of the selection, or Undo to reverse your last stroke. Check the mask before pressing Remove.
Press Remove and compare
Press Remove when the selection is ready. The editor fills the marked area using the scene around it.
Compare the original and result before deciding whether to keep it. In this mountain scene, look at where the path meets the grass. Gravel should not turn into a smooth blur, and the rebuilt trees should blend with the slope.
Move the comparison divider, or focus it and use the arrow keys. Look at the path where the hiker stood.
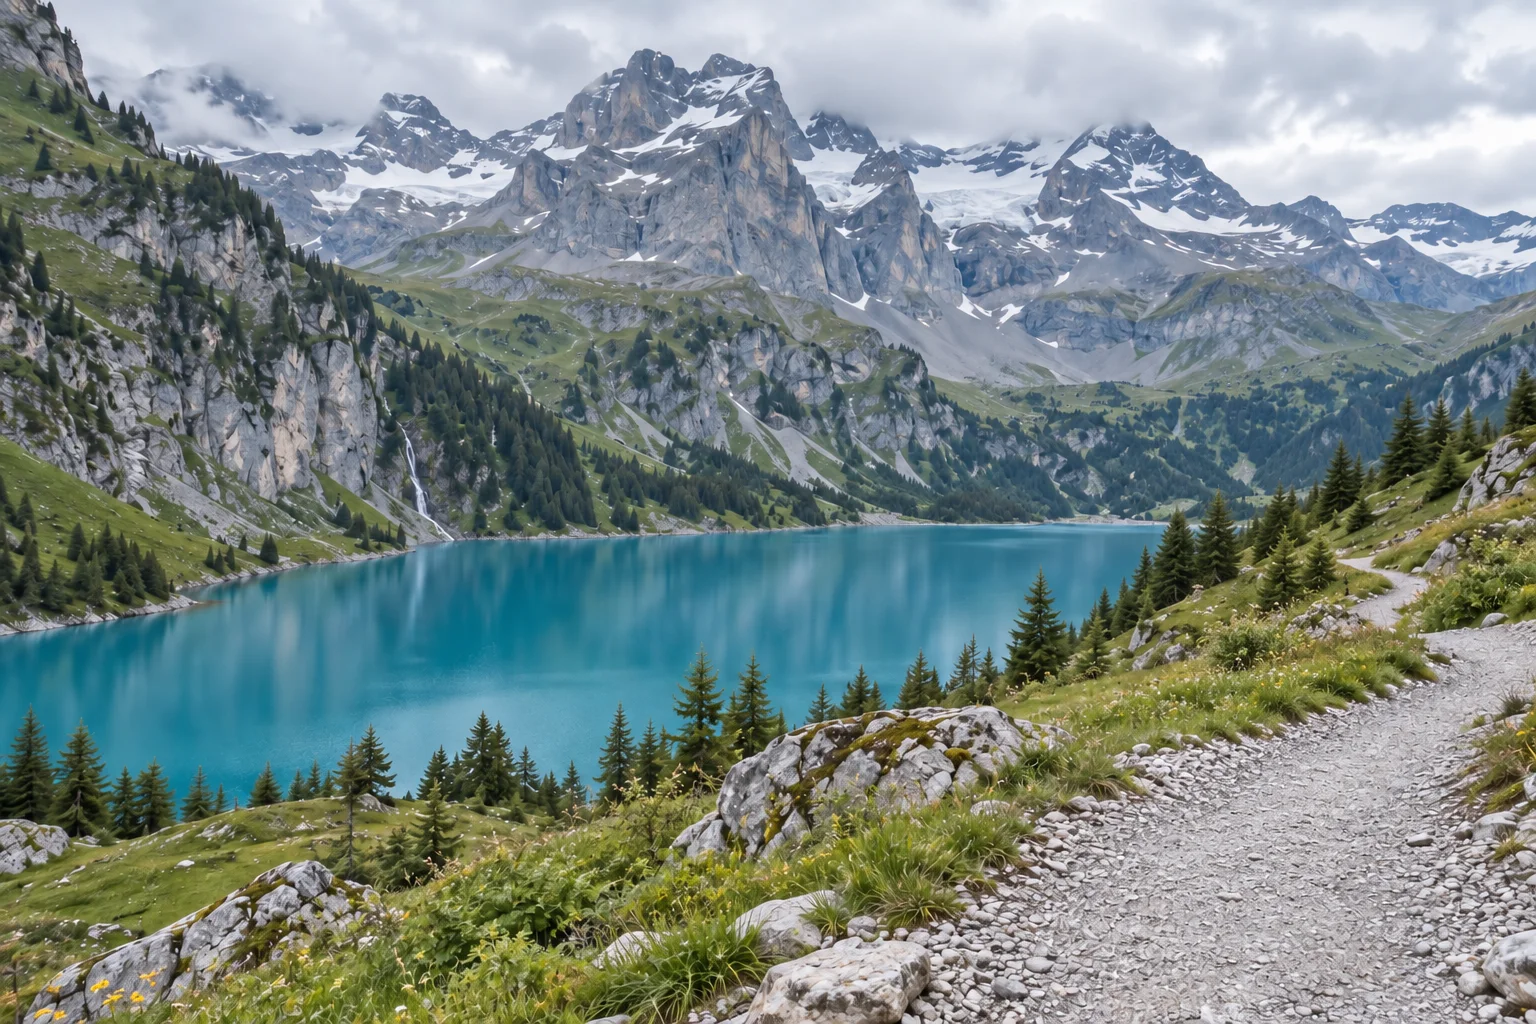 BeforeAfter
Check the details, then download
Inspect the former outline and the details you wanted to keep. In this gallery example, follow the column edge and floorboards behind the visitor, then check that the sculpture stays intact.
If you see a leftover fragment, choose Continue editing for a focused cleanup on the result. If the original mask needs work, choose Adjust original selection and correct it before trying again.
When you are happy with the image, choose Download original size. Keep a copy of your original so you can start over later. Each new removal uses credits, including another pass on the same photo.
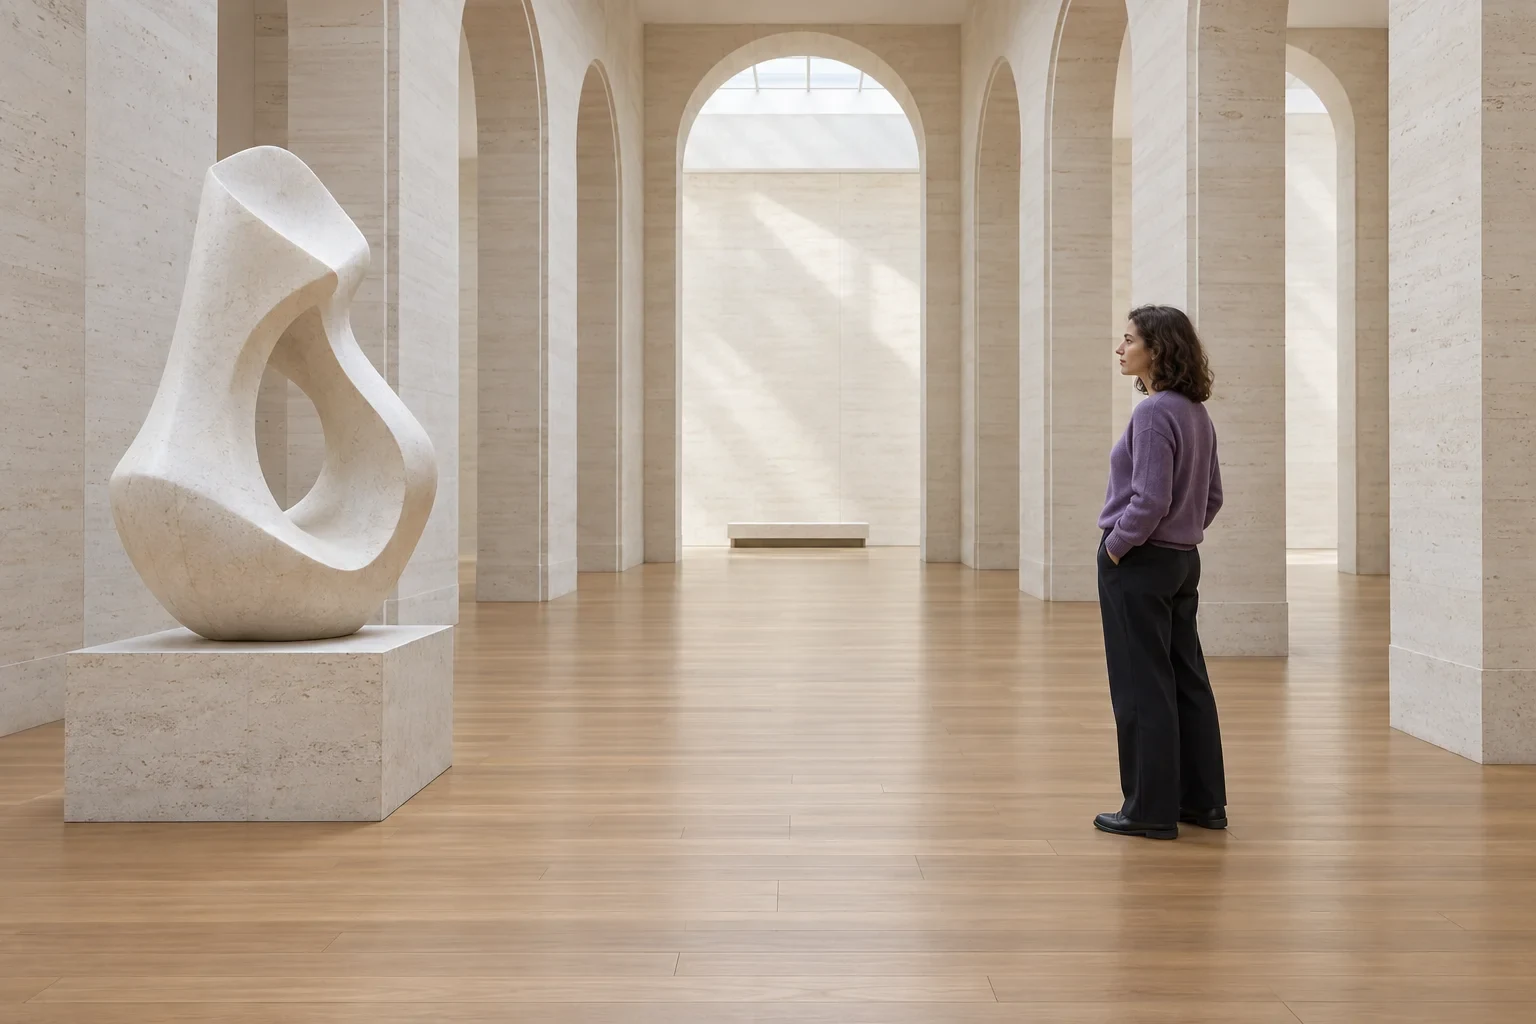
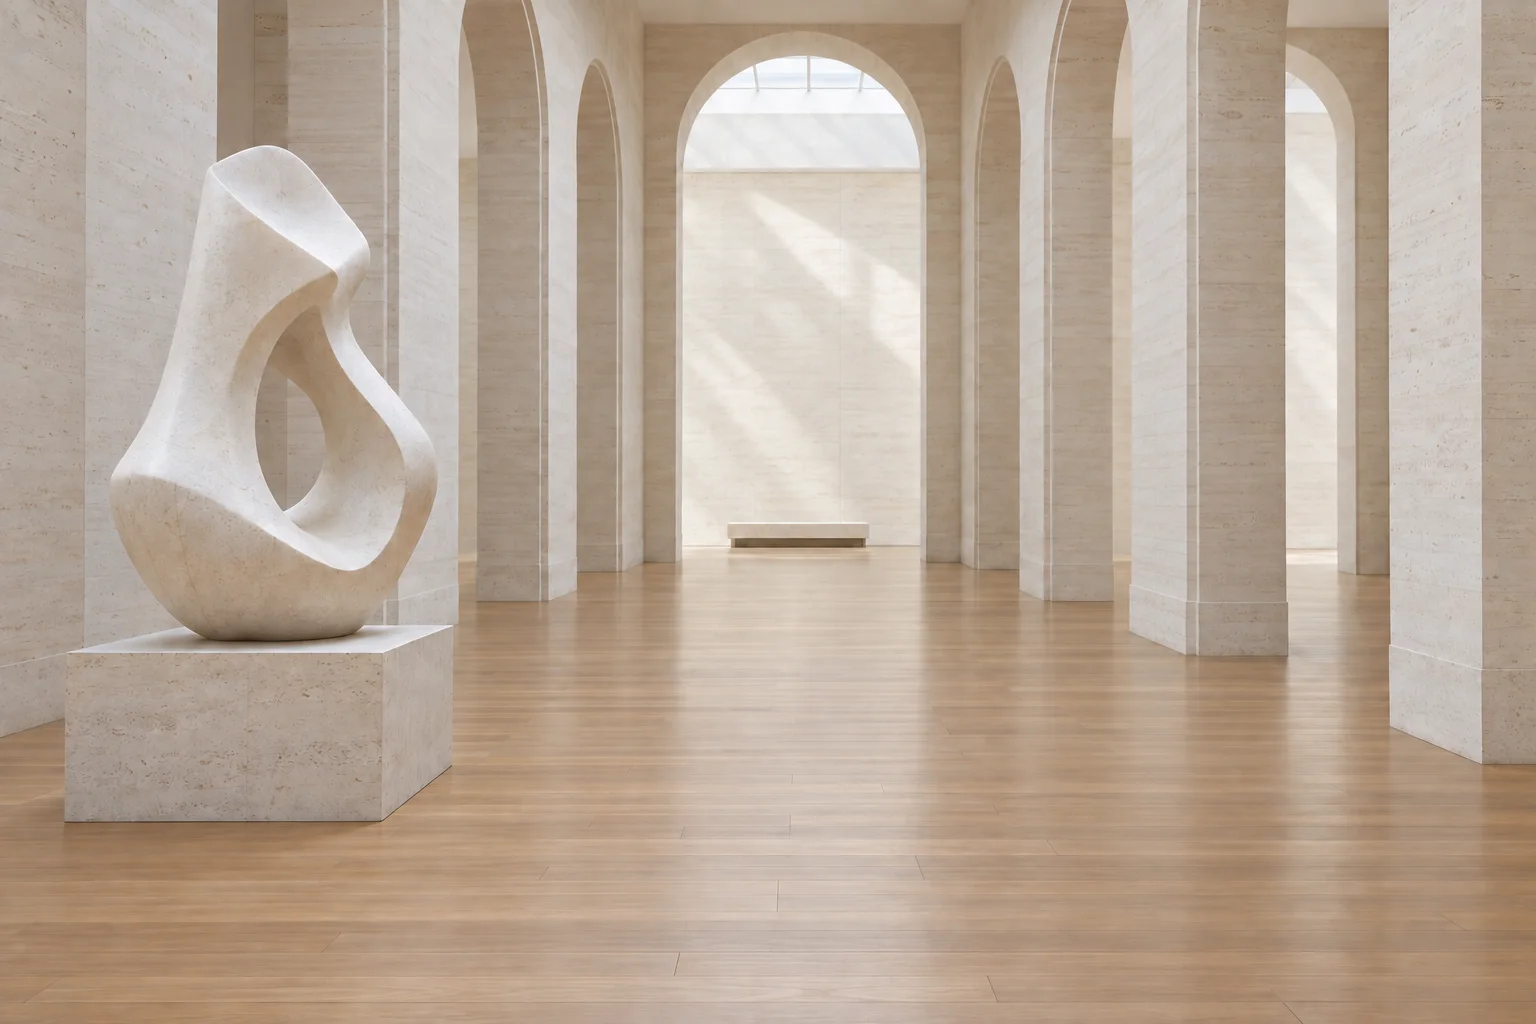 BeforeAfter
How the selection changes from photo to photo
Switch between the original, the selection and the result. The station needs a shadow included; the hike needs the backpack covered; the gallery needs careful attention to straight lines.
Travel portrait
Green = area to removeOpen landscape
Green = area to removeInterior & architecture
Green = area to removeAll three results were made with People Remover. Yours will vary with the photo and the selection.
Common problems and how to fix them
A sleeve or shoe remains
The selection may have missed part of the outline. Adjust the original mask to cover the fragment and a small margin around it.
The background looks smeared
Try a more focused selection. A large masked area hides useful context; complex railings, brickwork and lettering can still be difficult to rebuild.
The subject looks different
Check whether the mask touched the person you wanted to keep. Use Unmark near that edge. If a body part was hidden, the editor cannot know its true appearance.
Final checklist
The fill is the editor’s best guess at what was behind the person. Zoom in to full size and run through this list before you save.
- No leftover hair, clothing or shoes
- Shadows and reflections make sense
- Horizon lines and textures join naturally
- People you want to keep remain intact
- You still have a copy of your original photo
FAQ
How much should I brush over?
Cover the whole person with a small margin, including loose hair, bags and shoes. Add their shadow or reflection if it should disappear too. Keep the selection focused and leave nearby subjects unmarked.
Does the green overlay appear in the final photo?
No. The green overlay only shows your removal selection. It tells the editor which area to replace and is not part of the downloaded result.
Can I remove several people from one photo?
You can mark more than one person. For a crowded or complex scene, working on one distraction at a time can make it easier to inspect the result and correct each selection.
What if someone overlaps the person I want to keep?
Zoom in and use a small brush near the shared edge. Avoid marking the subject you want to preserve. If the unwanted person hides part of that subject, the missing detail must be generated and may not look accurate.
Can I do these steps on my phone?
You can use the browser editor on your phone. Upload a photo from your device, mark the unwanted person and inspect the result before downloading. A larger screen can help with precise edges.
Try it on your own photo
Start with a photo that has one clear distraction.
Open People Remover ↗