
Include the whole footprint
Select feet, bases, handles and shadows that belong to the object. A remaining dark patch can reveal where the distraction used to be.
Brush over a distracting object and rebuild the space around it. Upload a photo, brush over what you want gone and compare the result with your original.
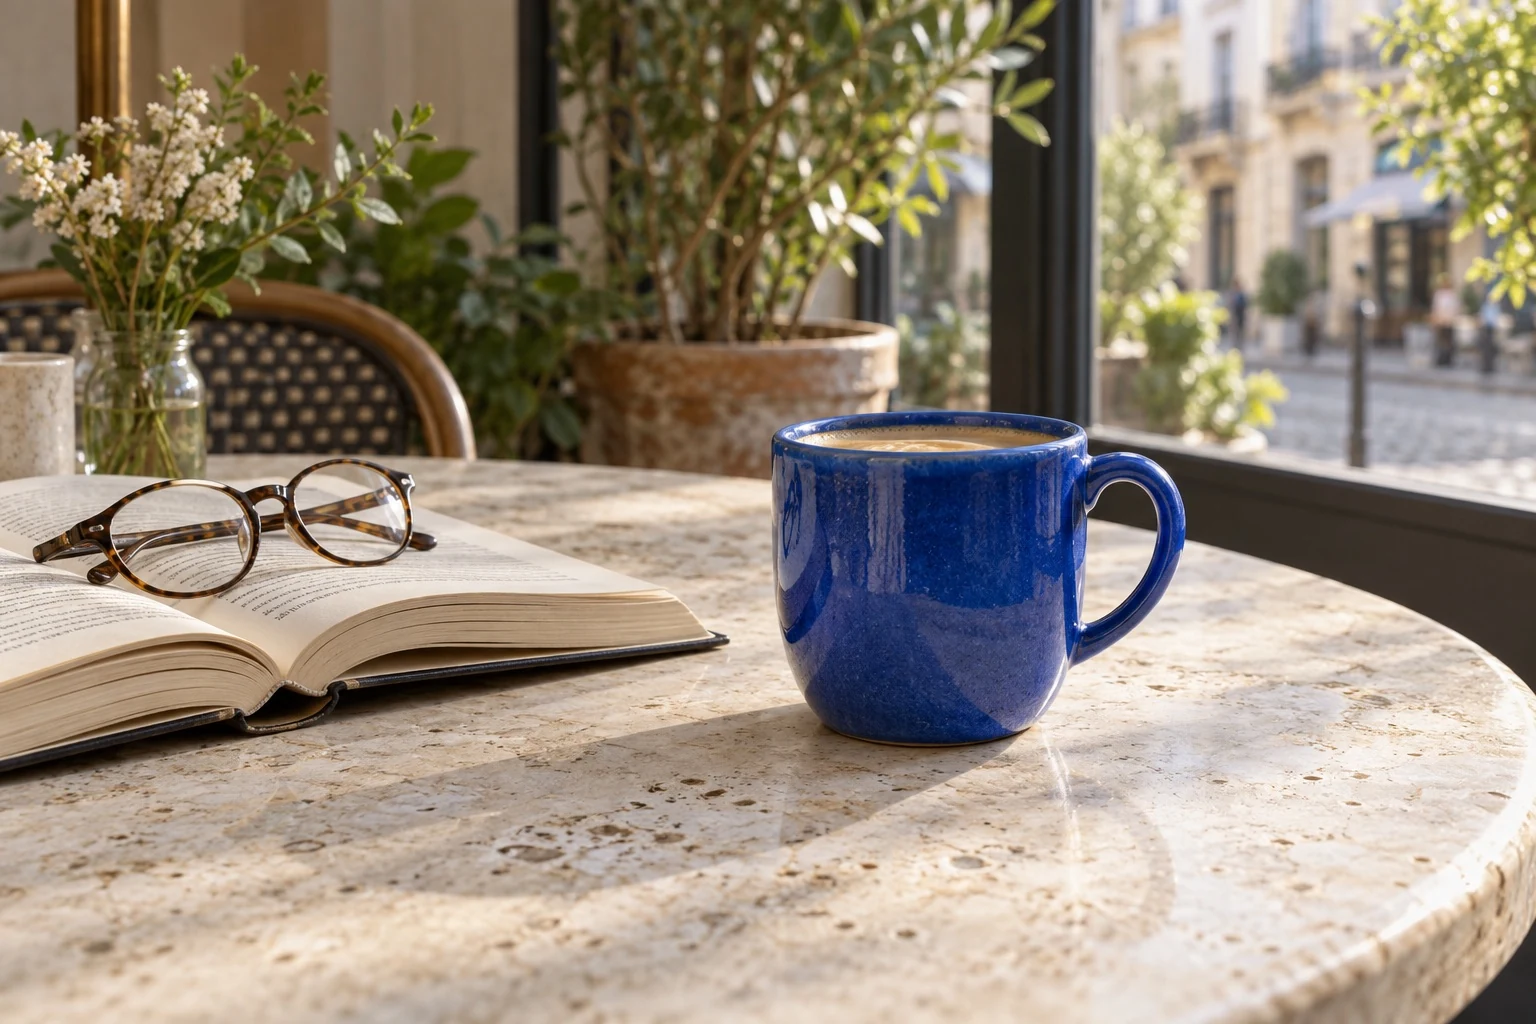
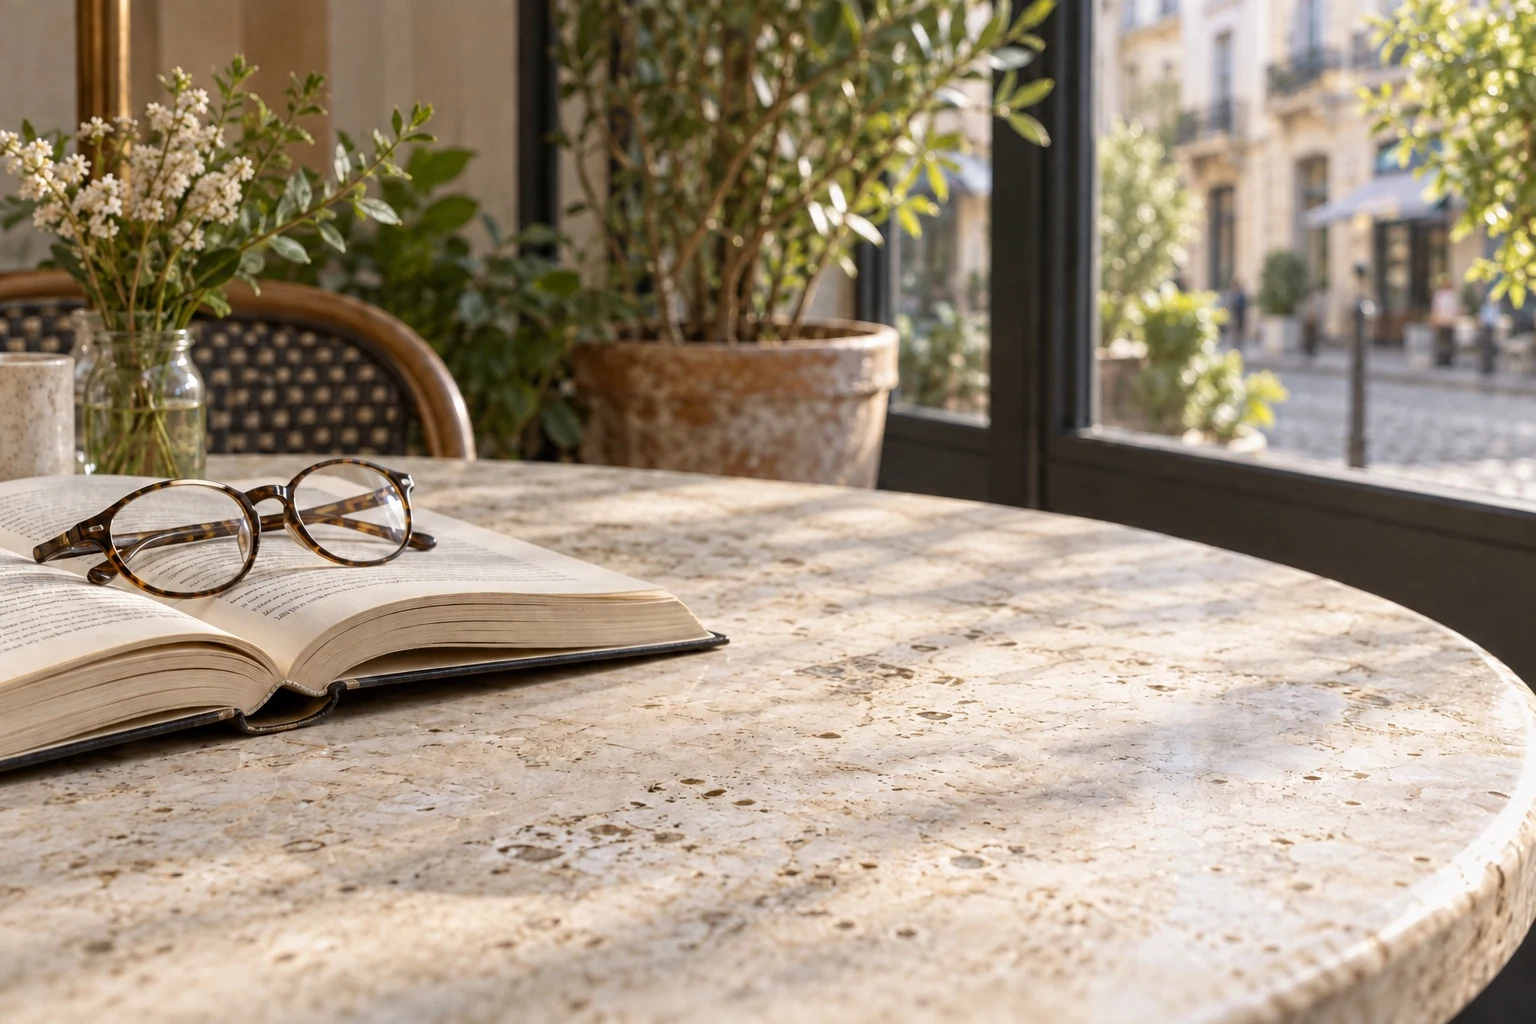 BeforeAfter
Made with People Remover · drag to compare
Choose an image or drop it here.
Both examples were edited in People Remover. Each one shows what to include in the selection and what to check afterwards.
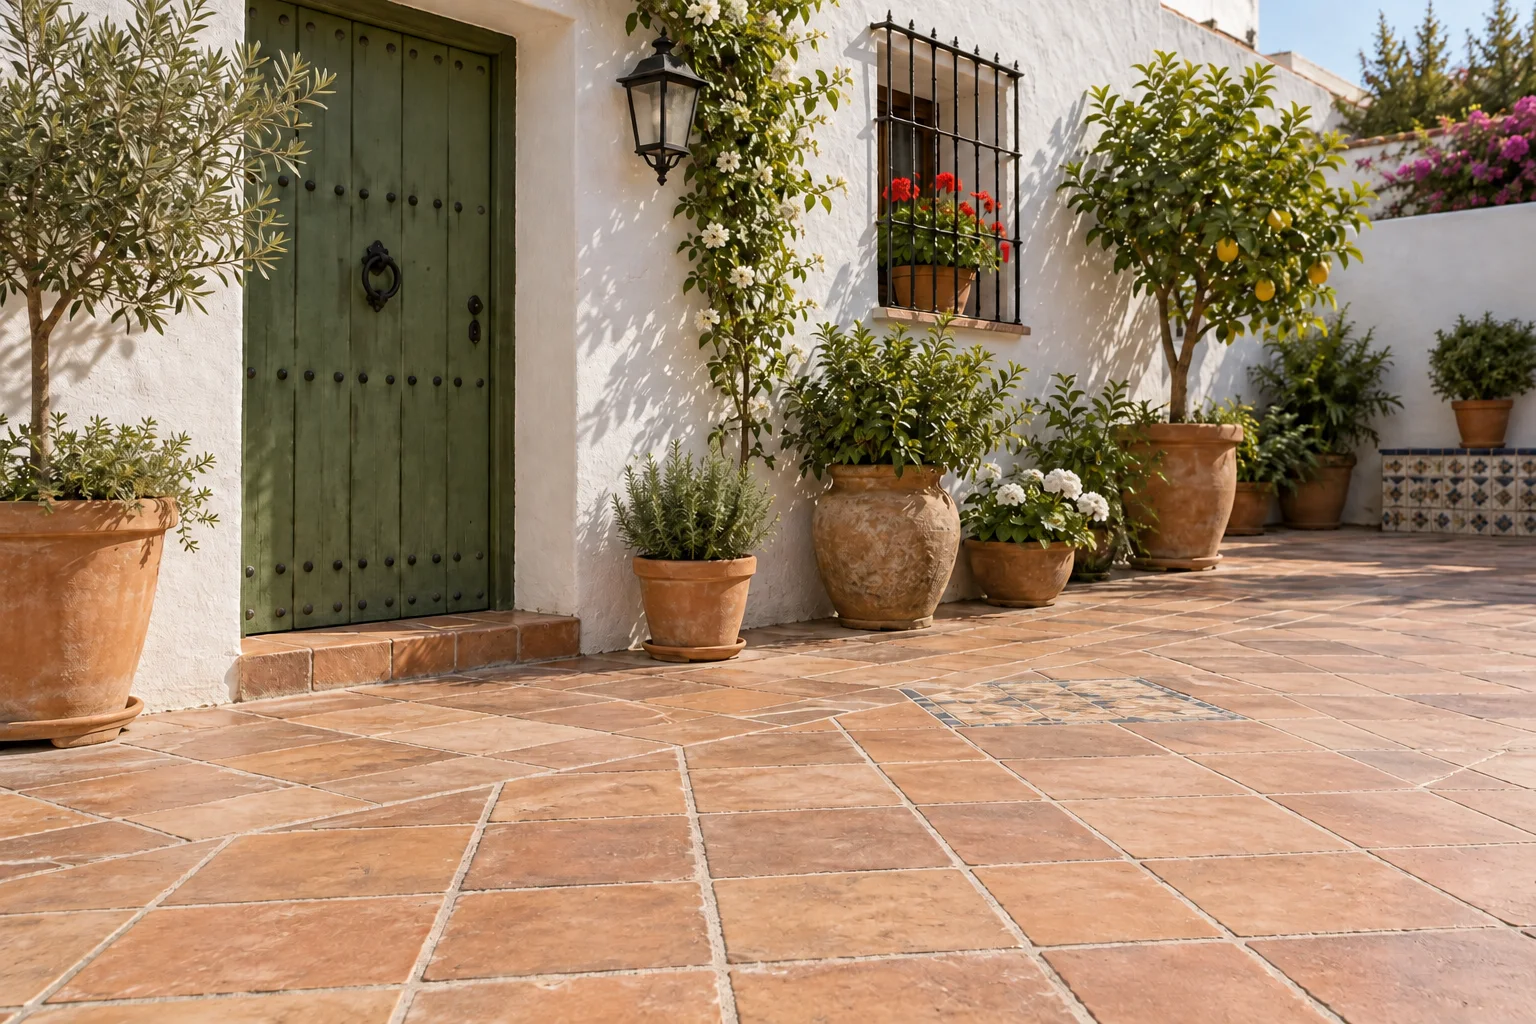
A bright traffic cone can draw the eye away from a doorway or garden. Brush over the entire cone, including its dark base and the shadow cast across the tiles.
After removal, follow the grout lines through the filled area. They should meet the surrounding tiles at the same angle. Leave the plants, pots and their shadows outside your selection.
Remove an object from your photo ↗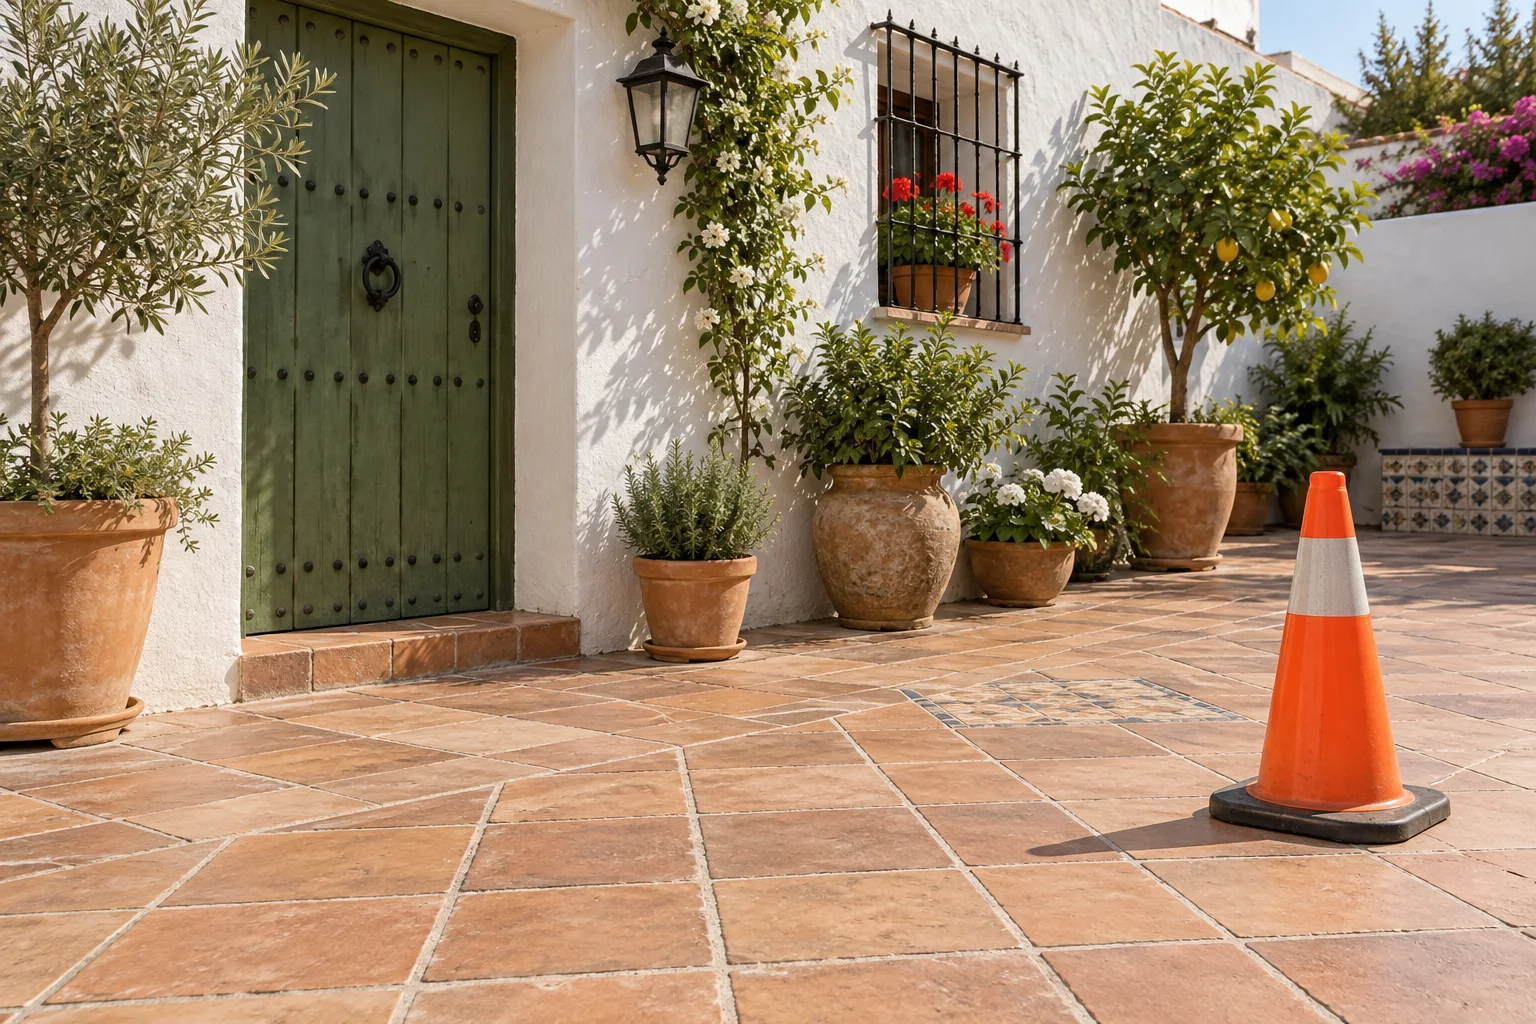
 BeforeAfter
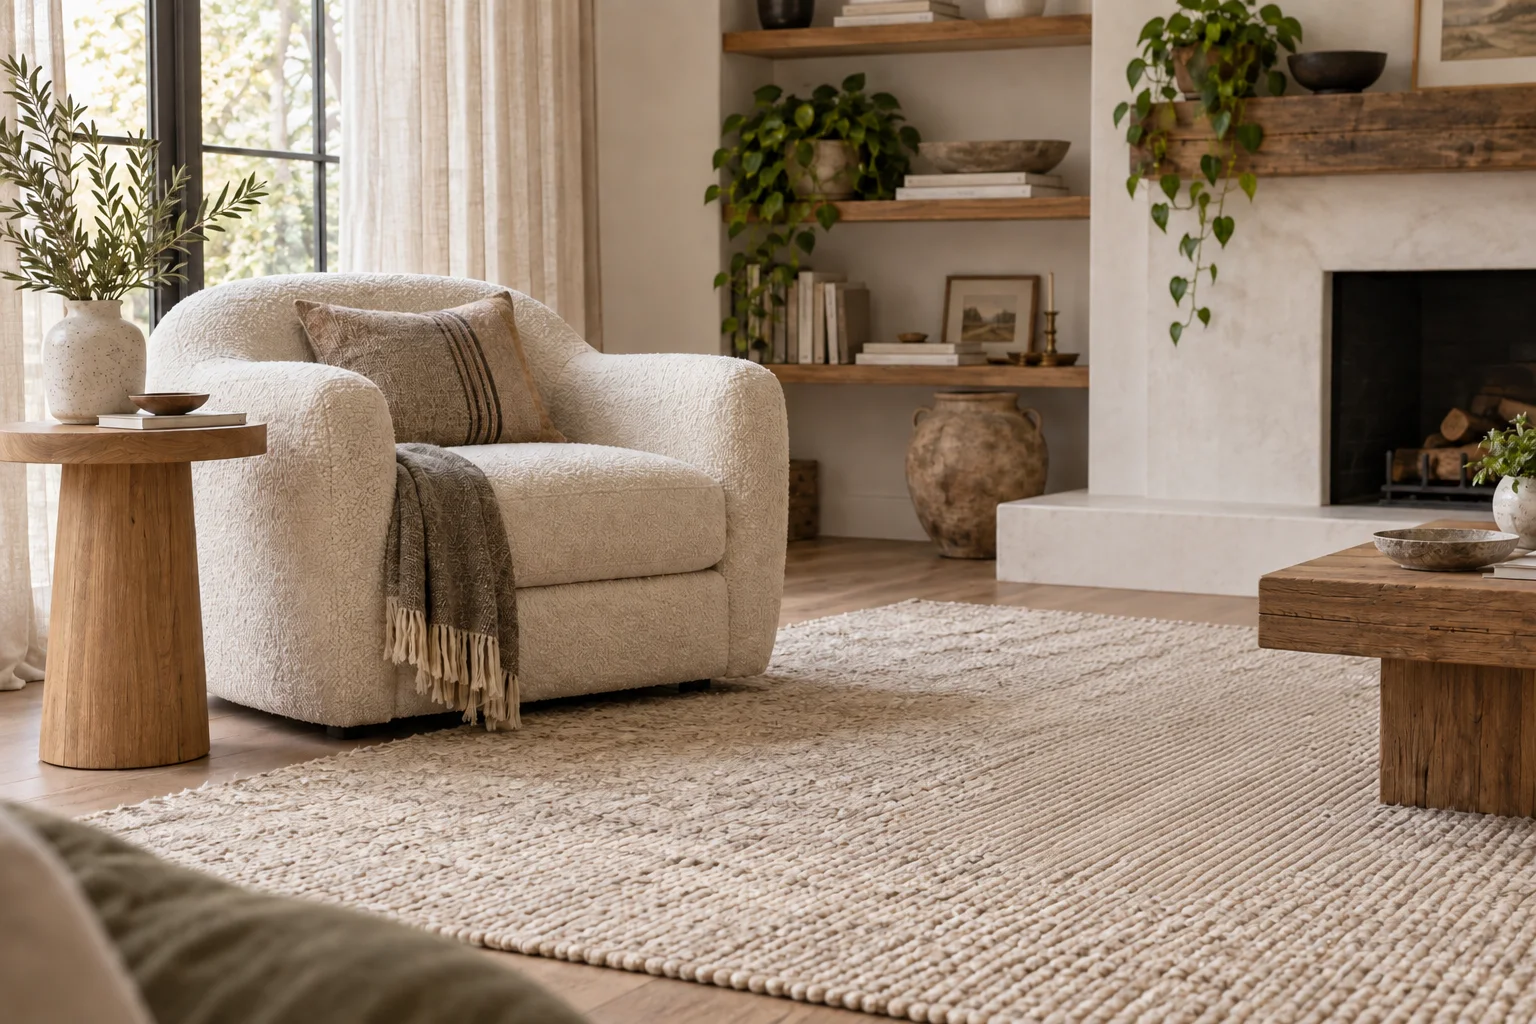
A bag on the floor can interrupt an otherwise calm interior photo. Cover the backpack and every loose strap; thin pieces at the edge are easy to miss.
Compare the rug texture before saving. A large object hides more of the scene, so inspect the nearby furniture edges too. If a strap remains, make a small cleanup selection instead of repainting the entire rug.
Remove an object from your photo ↗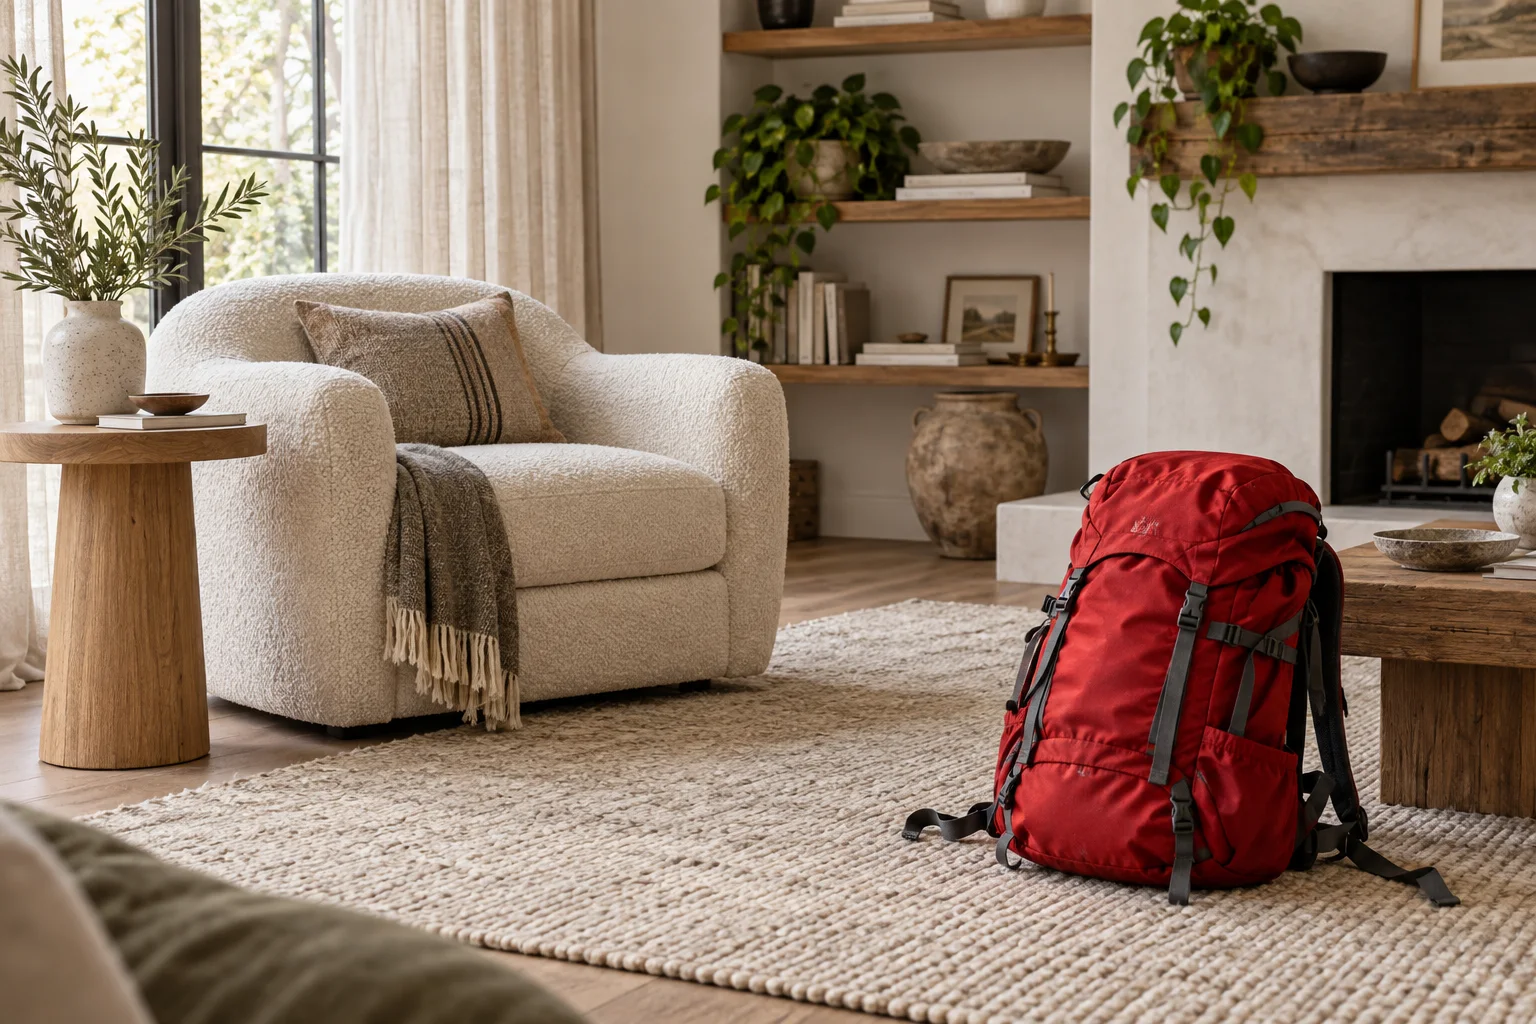
 BeforeAfter
Made with People Remover. Results vary with the photo and how carefully the area is selected.
Select feet, bases, handles and shadows that belong to the object. A remaining dark patch can reveal where the distraction used to be.
Work close to the object’s outline. Surrounding floorboards, tiles or fabric guide the fill; masking a large rectangle hides that context.
Look at straight lines and nearby furniture first, then inspect the surface detail. Use Adjust original selection if the mask touched something you wanted to keep.
Need help with the brush? Our step-by-step guide shows how to use Mark and Unmark and how to check a result. The editor works the same way here. Need to remove a person instead? Use the people remover.
Upload a JPG, PNG or WebP image from your device.
Paint over the object you want removed. Adjust the brush size and use Unmark to clear accidental marks.
Compare the result with your original, then download it at full resolution. That includes edits made with free credits.
The removed area is filled in from what surrounds it. It’s a convincing guess, not the real scene that was hidden. Repeating patterns, overlapping people and very large selections are the hardest cases and may need a second pass. Zoom in and check the result before you print or share it.
You can select signs, bins, cables and other distractions. The more of the surrounding scene is visible, the better the fill.
Paint only the unwanted object. Use Unmark to clear accidental marks from the mask.
Yes, if the shadow belongs to the object you are removing. Leave shadows from furniture, plants or people you want to keep outside the selection.
Repeated patterns and straight lines can be difficult to rebuild, especially behind a large object. Check the selection, keep nearby context visible and try again if the lines still don’t match.
JPG, PNG or WebP, up to 20 MB and 25 megapixels. If a very large photo won’t open on your phone, try a computer or a smaller version of the photo.
Yes. Every result downloads at the same width and height as your original, including edits made with free credits. Only the area you brushed changes. Files are saved as PNG, and camera metadata such as EXIF is not kept.
Standard generates the brushed area at 1K. HD Repair generates it at 2K, which gives the filled area twice the detail in each direction. You’ll notice it most on large photos when you zoom in or print. Both download at full resolution. Standard uses 2 credits. HD Repair uses 5 credits and unlocks after your first purchase. On photos under about 1,000 pixels on the long side, Standard already matches the photo’s resolution.